
Hello April and Happy Spring!
I absolutely adore handmade paper crafts... giving, making, and receiving them! My most favorite thing to make are Daybooks. I love everything about the whole process! They're so easy to customize and personalize. I first started making them about 8 months ago, and since then I've created around 15-20 of 'em. Some I keep for myself, but most are made for friends that I've given as a RAK (Random Act of Kindness: Sending something to someone without them knowing, and not expecting anything back in return.) Every book I make is made special for them. I use what I know about each person (favorite color, interests, etc.) to customize and personalize every book. Each and every one is "Made with Aloha."

I've gotten nothing but wonderful feedback from the recipients of each book. It makes me so happy when I hear how much it put a smile on their face, and how much they love it. The best part is knowing that something I created for them will be filled with beautiful memories to look back on for years to come...
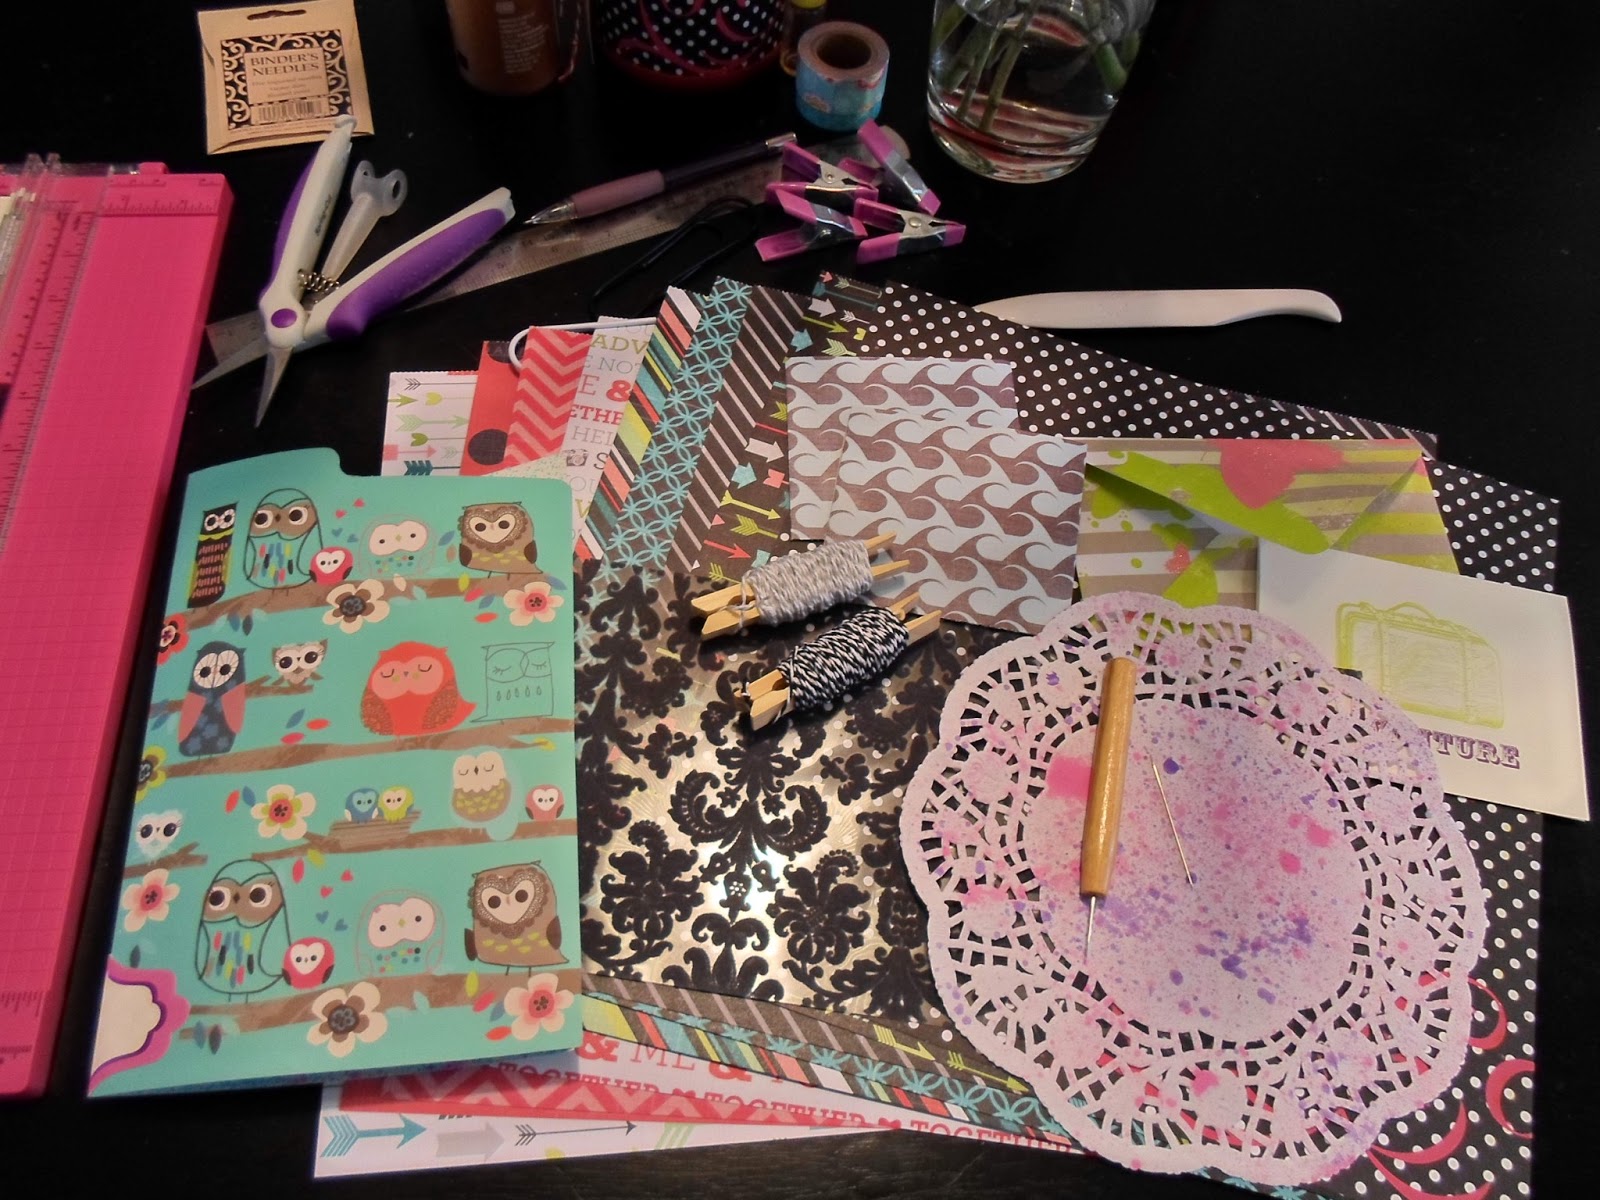 |
| Basic Supplies |
Over the last few weeks, I've gathered some new supplies to make a batch of fun and super cute daybooks. I thought I would let you take a glimpse at the process I use to make my books. From the "Supplies" & "Tools", to the "Binding" & "Sewing"... and even the extra little "Details."

One of my favorite parts of this whole process is working with all of the pretty paper. From arranging the pages to handmaking the actual envelopes and pockets, it's all so much fun! I love using double-sided scrapbook paper for the pages, and I also like to incorporate papers from different collections! As long as the colors coordinate (or even contrast), they will work great together in a book.

 TIP: Use templates! They are incredibly handy and worth making. I have all kinds of different templates in my collection that I use for various paper projects.

 |
| Handy Tools For Making Daybooks |
Really all you need to make a daybook is some pretty paper and "string" to bind it with. Over time, I've included other "Elements" that makes my books extra special. And you don't need each and every tool I've shown you here, but I think they make the process of creating a daybook much easier and faster.

One of my favorite parts of this whole process is working with all of the pretty paper. From arranging the pages to handmaking the actual envelopes and pockets, it's all so much fun! I love using double-sided scrapbook paper for the pages, and I also like to incorporate papers from different collections! As long as the colors coordinate (or even contrast), they will work great together in a book.
For these books, I picked up the main paper collection and the owl file folders at totally different times. I wasn't even thinking of using them together when I bought them. The colors couldn't be more perfect together... I love it when it works out that way!
I always take advantage of white spaces (like the other side of the file folders). It gives me chance to use my Homemade Glimmer Mists and/or Alcohol Ink Sprays. I really love adding handmade {scrapbook paper} envelopes, delicate doilies, and designer notecards. This is also a great way to use up your paper scraps! Daybooks with pages of various shapes and sizes are so fun to flip through....

 TIP: Use templates! They are incredibly handy and worth making. I have all kinds of different templates in my collection that I use for various paper projects.
 |
| Poking Holes: Prepping the book for Hand-Stitching |
At first, I definitely thought that hand-sewing the binding was the hardest thing about all of this. But now, it's so easy because I've had lots of practice from making so many books. Practice makes perfect! I love seeing that stitching come out nice and straight!
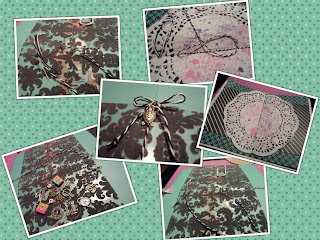

Another part I like to personalize is the binding... choosing the perfect twine or cord and adding a cute little charm.
 |
| Confetti Pages are so Fun! |
One of the funnest "elements" I add to my books are confetti pages. They hold anything... photos, diecuts, paper ephemera, and other kinds of memorabilia. Best thing about them... they make great use of items you would normally throw away, like the "punchies" from your craft punches and the cellophane packaging that comes with your favorite stickers and embellishments! A wonderful way to "Reduce" and "Reuse."
 |
| It's All About The Details..... |
The Finishing Touches: A border punch across the edges of a few pages is a wonderful touch. I love using my "Scroll" punch for this project! [Handmade] Pockets on both the front and back covers gives the recipient a nice place to hold journal cards or ephemera. I like using my own stamps and washi tape on the other "half" of the pretty notecards. It's a really great way to add a creative touch to an otherwise blank page.

I really hope you enjoyed this post. I had tons of fun writing it and I'm going to have even more fun RAKing two of my new daybooks to a couple of special ladies! I don't know what's better...making them or giving them away ;) Do you make your own daybooks too? If so, what's your favorite part of the process? Any questions, thoughts, or comments? Please let me know. Your feedback is always welcome and much appreciated!
Wanna stay updated on my recent posts and projects? Be sure to "like" my new fan page on Facebook!
Thank you for stopping by!
Awesome post Crystal. You've added a lot of detail and worded it beautifully. You really are a professional at these books Hey xxx
ReplyDeleteThank you so much Rebecca! I'm so happy with how far I've come in the last 8 months :) I would've never thought I'd be able to make such beautiful creations to share with other women who love the same things I do <3
DeleteThanks again for stopping by to show some love!
Can you explain what you used to make the confetti pages? It is a baggy?
ReplyDeleteNope, not baggies. I keep and reuse the cellophane packaging that comes on stickers/embellishments for my confetti pages :)
Deletegreat idea!!!!
DeleteThanks Renee! I know how much you love my confetti pages ;-)
DeleteNice post Crystal. I love the owls and I seriously need to make a confetti page.
ReplyDeleteThanks MiMi :) I think you totally should! They are super fun and perfect for photos, diecuts, ephemera, or anything really. They are definitely one of my favorite elements!
Delete