
Happy weekend! Are you enjoying this gorgeous weather as much as we are? I love this time of the year.... it has to be that "islander" gene in me ;) The sunshine makes me happy. And when the weather is warm, we love our family time together in the great outdoors. Let them be day trips exploring the local wildlife and natural beauty of the Pacific NW, or relaxing ferry rides to the "Emerald City". Weekend road trips visiting family down in Portland, OR, or a 3 hour scenic drive to vacation in "Twilight Country." Life is full of fantastic adventures. With family vacations being at the top of the list! So I thought, how perfect would it be to bring my love for documenting life along with us when we travel? And that is exactly what I did with our road trip last month to La Push, WA.

When I pack a bag for my supplies, I keep in mind what our trip is all about. We were going to live "The Twilight Saga." So many photo opportunities: the famous locations, beautiful scenery, the resort. I also knew we were going to collect plenty of ephemera since both the rez in La Push, and the nearby town of Forks caters to tourists. I grabbed "Twilight Maps," brochures for the surrounding area (rainforest trail guides, restaurant menus, outdoor activities, etc.), travel mags, pamphlets, etc. I even did a ton of research on the net, created an itinerary, printed turn-by-turn road maps with all of our destinations "pinned", and took down info of the locations we were visiting. I wanted to enjoy every minute of our time there!
[*I kept all of this info in a file folder and added it to my bag.]
Back to our trip... my favorite part was the fact that technology was pretty much non-existent at the oceanfront lodging we were staying at. No cell signal. No TV. No internet. No telephones. But that didn't stop us from enjoying each other's company. Not to mention the amazing culture, lush rainforests, and beautiful beaches right at our doorstep. Even the time in our room was wonderful...with a view of the ocean right from our bed! Best part... after all of the sightseeing, I had plenty of time to relax and SMASH.
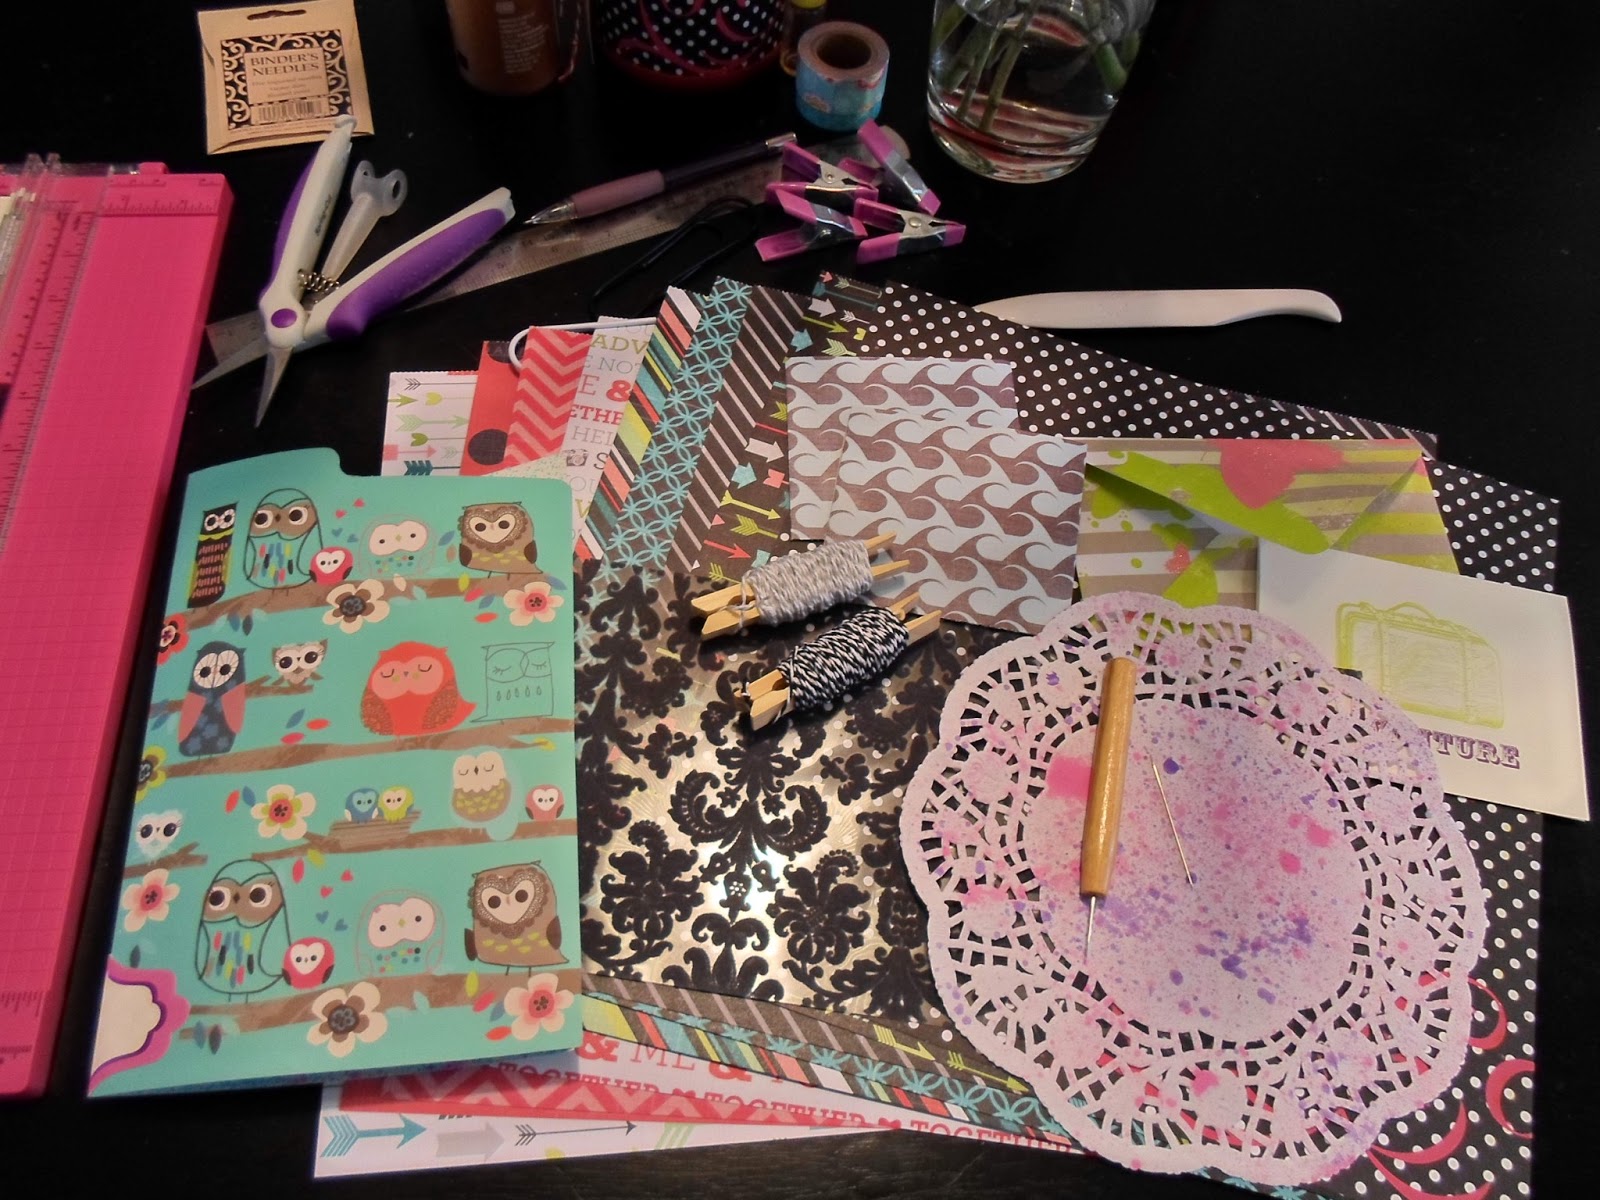
You can add anything you want to your bag. This is what I like to include in mine... it's a little bit of everything. They're all things that I personally use on a regular basis. My go-to supplies when I SMASH* or create my Project Life pages. I have just enough here to hold me down while documenting our vacation, and satisfy my crafty fix while away from home. You are more than welcome to modify this list so it suits you better. It should give a good jumping off point when creating yours.
SUPPLIES


[*I kept all of this info in a file folder and added it to my bag.]
Back to our trip... my favorite part was the fact that technology was pretty much non-existent at the oceanfront lodging we were staying at. No cell signal. No TV. No internet. No telephones. But that didn't stop us from enjoying each other's company. Not to mention the amazing culture, lush rainforests, and beautiful beaches right at our doorstep. Even the time in our room was wonderful...with a view of the ocean right from our bed! Best part... after all of the sightseeing, I had plenty of time to relax and SMASH.
 |
SUPPLIES

- A Bag with Sturdy Handles: I use an eco-friendly bag made from recycled plastic bags. I picked it up for 50% off only paying around $2.50.
- Instax Mini 8 Instant Camera & Film: Partnered with my digital point and shoot (not pictured)

- SMASH* Book or Daybook: I took both ;) I handmade my daybook especially for this trip!
- A Notebook: My journal that also holds ideas for my blog and Project Life/SMASH*
- Small Notepad: I use it to jot down specific details (dates/times/location/activities/feelings), make lists, as a photo log, to record things people said, etc. I stick it in my purse if we go out.

- Thickers & Stickers: Themed embellishments, different alphabet stickers, word sentiments, etc.
- Embellishments: Cardstock cutouts, diecuts, tags, or other fun stuff. Choose ones relating to your trip.

- Journal Cards: I picked out ones with a road trip/travel theme. I even made my own "Twilight" cards on Silhouette Studio and cut them with my Cameo.
- Pockets: A mix of different ones to hold journal cards and tidbits of paper ephemera and mementos. Glassine bags, library card holders, handmade pockets, etc.

- Goodie Bags: Plastic SMASH* bags that come in different sizes. I use them to hold the little treasures I collect from vacation, for postcards and other ephemera we pick up, and to store my journal cards and embellishments for the trip.

- Pencil Box: Holds all of your writing utensils and tools so they aren't rolling around the bottom of your bag.
- Black Zig Pen/Marker, Mechanical Pencil, & Eraser
- Colored Pencils: I love working with different media.
- Scissors: Mine is Tonic's Spring-Cut Detail Scissors
- Glue Stick and Mounting Squares: Both are little to no-mess adhesives perfect for traveling with.

- Washi Tape: I know it's hard to choose, but I limit myself to just a few rolls.
- Roller Date Stamp: I chose one with sentiments that will work for my trip.
- Mini-Inker by SMASH*: Very handy and portable little tool with 3 different ink colors.
- Mini Stamp Pad: Takes up less space than a standard ink pad.

That's about it. So super simple to put together. Just customize the contents of your bag to fit your style and needs. And as you can see, everything easily fits into my bag with room to spare. So there really is no need to bring a ton of supplies, in a huge bag that you have to lug around along with the rest of your stuff... unless you really want to. The only thing missing here though are my cameras, which have their own cases and stored in our "Tech" bag, and my file folder with all of my travel information. This sweet little bag was so easy to transport and took up very little space in the car. I kept it on the floor near my feet making it easy to get in and out of so I could SMASH* on the road, and find the maps I printed out :)
Wanna stay updated on my recent posts and projects? Be sure to "like" my new fan page on Facebook!
I really hope you enjoyed this post and feel inspired to bring a bag like this along on your next trip. Already have a travel bag? What do you like to include in yours? Did you find this info helpful? Any thoughts, questions, or comments about this post? Feel free to drop me a line. Your feedback is always welcome and much appreciated.
Mahalo for stopping by!
Wanna stay updated on my recent posts and projects? Be sure to "like" my new fan page on Facebook!
I really hope you enjoyed this post and feel inspired to bring a bag like this along on your next trip. Already have a travel bag? What do you like to include in yours? Did you find this info helpful? Any thoughts, questions, or comments about this post? Feel free to drop me a line. Your feedback is always welcome and much appreciated.
Mahalo for stopping by!





+-+Love+Letters.JPG)
+-+VDay+Card.JPG)


